
In this article, I will walk you through step by step process of creating a new website using OLITT builder.
But before that, what exactly is OLITT and why should you use it?
OLITT is a website builder tool, designed to help you spend less time creating web projects such as sites or landing pages.
Better part?
Forget about coding or having design skills.
OLITT has that covered.
You can create beautiful websites without touching code or ever lifting a finger to hire a web designer.
Why?
Because you can now do that by yourself in under 4.5 minutes (I will show you how).
Why use OLITT?
To help you answer the question, ‘why OLITT,’ let me share some statistics about blogging.
Pay attention because this is where your answer lies:
#1. Need to stand out
If you are going to be successful in this blogging industry, you need to stand out.
Why?
Look here, WordPress users alone publish over 70 million posts every month. Don’t forget there are other blogging CMS like Joomla, Blogger, and others.
That is too much noise and if you look at it, the top 80% of the noise comprises of top blogs and news media.
How then can you, who is starting out, stand a chance in such a noisy environment?
You need to be different. Stand out from the crowd.
But how can you do that?
One, you need a beautiful and professional website. That is the starting point. The thing is, no one wants to read or shop on boring websites with cluttered navigation, low-quality images, among other things.
That is where OLITT comes in.
You don’t have to worry about whether your website will appeal to the target audience. Our templates are sorted and designed by real pros.
With that said, it’s time for the next statistic:
#2. Website loading speed
Take note of these stats:
- You lose 37% of visitors every time your website takes more than five seconds to load
- 70% of customers say website speed determine whether they will buy or not
- A one-second delay page-loading results in a 7% drop in conversions
Should I continue?
Here is one more:
Among the top four SEO UX signals used by search engines, three are page speed dependent.
In fact, Google themselves admitted to using page speed as a ranking factor.
What does this mean to you?
Well, it means that if you want to have a better chance of ranking on #1 page on Google, better work on your website loading speed.
This where it all gets tricky and technical. To shade even a second of the loading speed, you need to dive into the code and move things around the website.
And here is the saddest part, there is no guarantee that after all that work, your website will be better.
Some even end up worse than before because you touched something you weren’t supposed to.
It doesn’t have to be like that.
OLITT takes website speed seriously. It comes with inbuilt frameworks – think CDN, GZIP compression technology, among others.
Want fast pages? Build using OLITT and you will never worry about loading time.
Last but not least:
#3. Security
Look at these stats:
- There is a hacker attack every 39 seconds, an average of 2244 times per day
- 43% of cyber-attacks target small business
Here is a bomber:
It is estimated that global expenditure on cybersecurity will be at $6 trillion in 2021.
Are you sure your website is safe? Or do you still believe no one will find your website?
Website security is a real issue. It not only costs your company damage but also financial losses. The average cost of a data breach is $3.92 million as of 2019.
Unless you have such a huge amount of money lying around, you need to rethink the whole security thing.
Among all measures you can take, the security of the host server is #1. That’s where all start.
OLITT has implemented the latest technology to guard your data. Security maintenance is done regularly.
Additionally, there are disaster recovery measures set in place.
Now, with that out of the way, let’s look at how to create a website on OLITT.
Step by step: how to create a website on OLITT in 4 steps (with screenshots)
Go to https://www.olitt.com
Click on Start Building.
Step #1: Select category
The next step is to select the category.
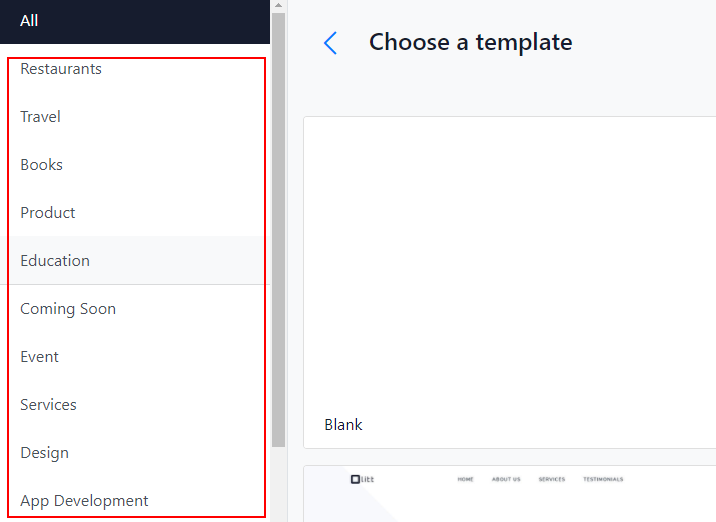
To help you here, think about what your website will be all about.
For example:
If you are selling foodstuffs, you can go with the restaurant category. Offering services such as car wash, barbershop, etc? Use the Services category.
Looking at our example above, we are going to use the restaurant category.
Step #2: Select a template
Once you’ve selected a category, it is time to choose a template.
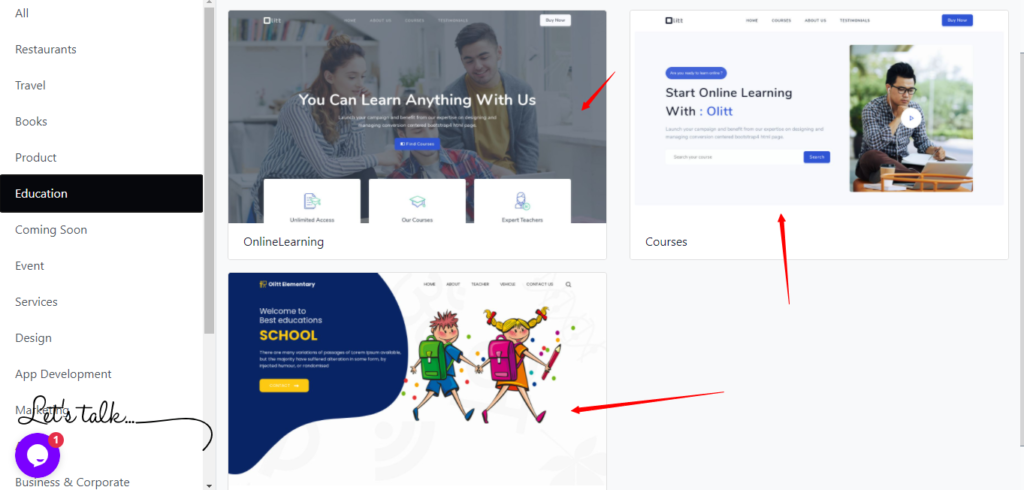
This is where it all comes to shape.
A template is what will save you a lot of time and money. Once you pick it, the website is 90% ready. The remaining 10% is on the next step, but first:
- Pick templates that are close to your website’s topic, this way, you won’t do much editing
- If you have custom images such as logos, product’s images, etc, make them ready on a folder. You will need them in the next step.
Here’s one thing about website templates, they are ready-made.
This means that all the heavy-lifting has been done for you. And all you have to do is select one you like and move to the next and final step.
Step #3: Connect your account
This is the last step: sign up for the OLITT account.
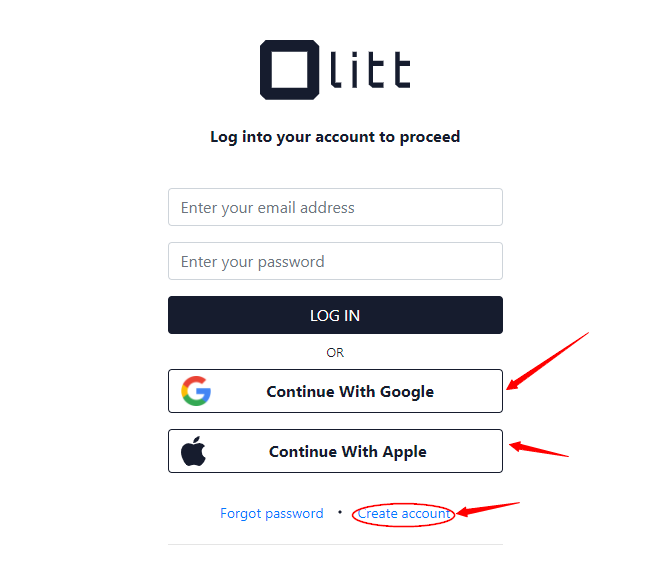
You can sign up using your Gmail or Apple account. Alternatively, you can create an account using an email and password.
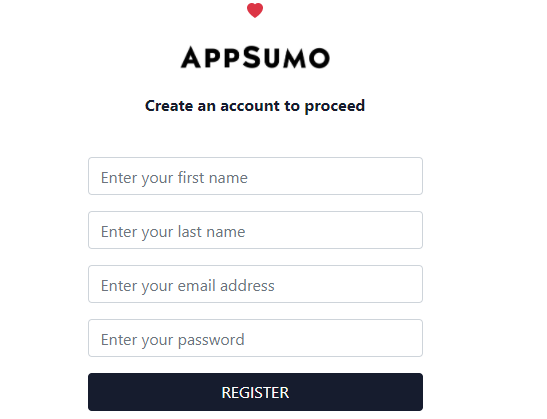
Don’t worry, your accounts are safe.
Here is where your websites will be saved. Comes with a dashboard where you can access all of your pages.
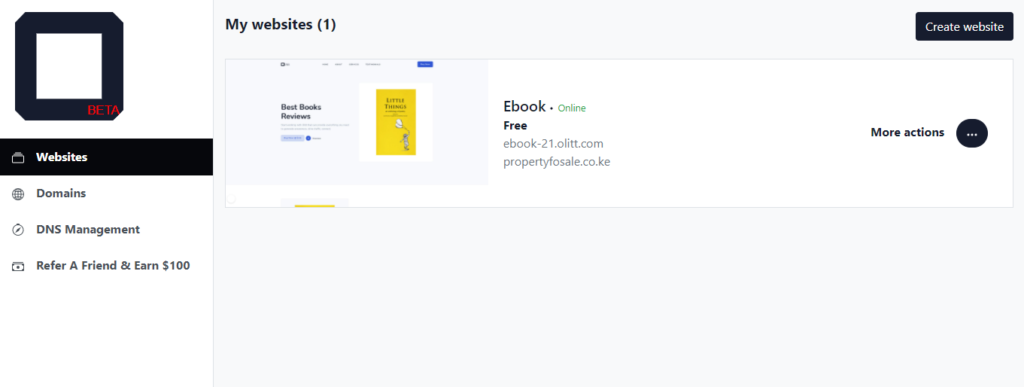
To start the editing process, hover on the website and click on View Website. This will open the template on a new window like the one below.
How to customize your new website
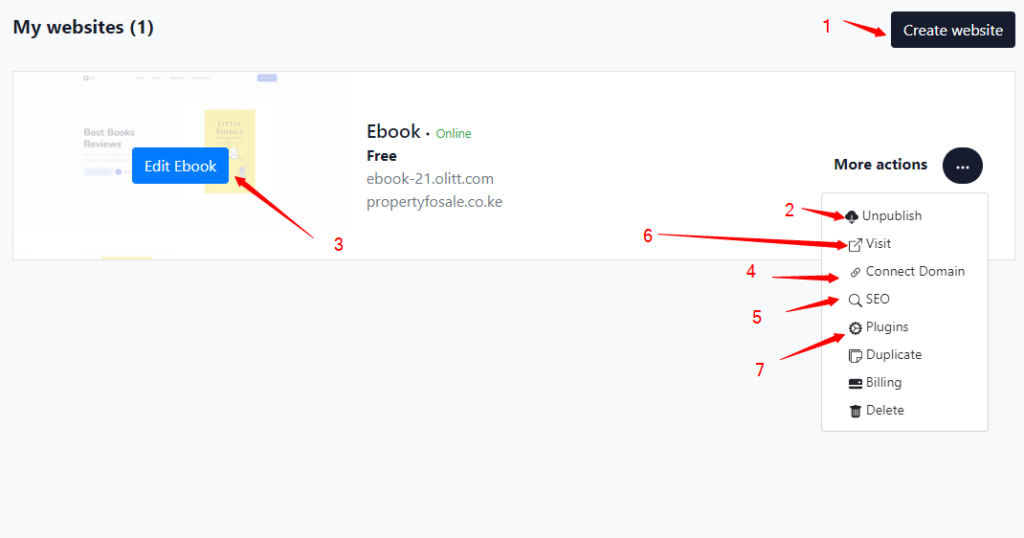
Here, I will walk you through each button and what it does.
#1. Use this button to create a new website. If you click this button, you will have to follow the steps above to create a new website. Now you have more than 1 websites, your dashboard will look a lot different than in the previous screenshot.
#2. Use this button to un-publish your new website. When you click, your website will be public and people can now see it
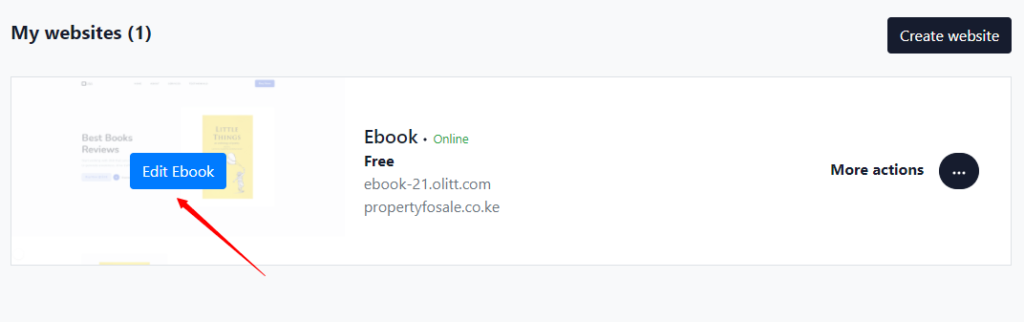
#3. Click here to start editing. I will show you how to do that in a second
#4. Use this button to connect a custom domain
#5. use this to visit the website
#6. Use this button for SEO purposes like changing the title, meta description.
#7. Add integrations such as Gooogle Analytics, MailChimp, etc.
Editing the template
To start the editing process, click on the ‘Edit’ button
When you click on it, a new window will open
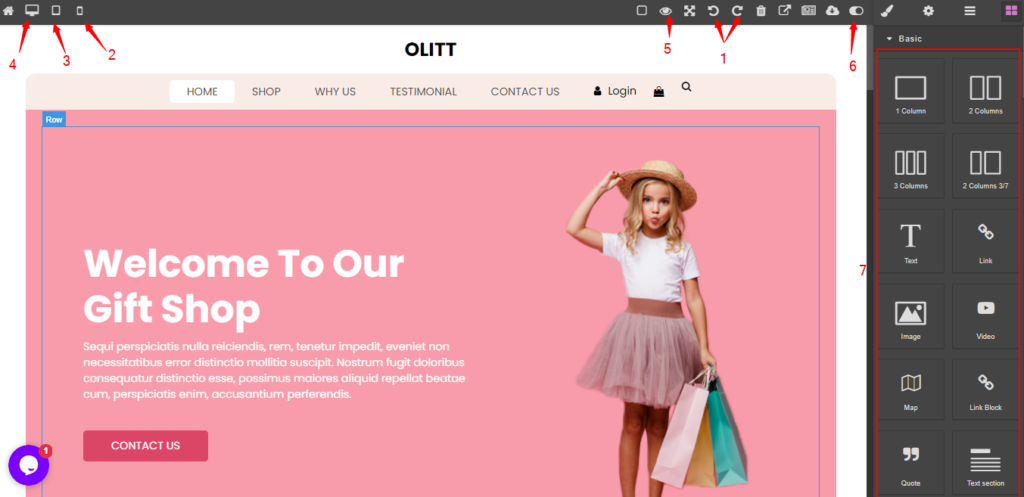
Let’s go through what each button does:
#1 Button: use this to restore changes
#2: mobile preview – use this to preview how your website will look like on a mobile phone
#3: tablet preview – see how the website looks like on a tablet
#4: desktop/laptop preview – like previous 3 previews, shows you how the site looks like on a computer.
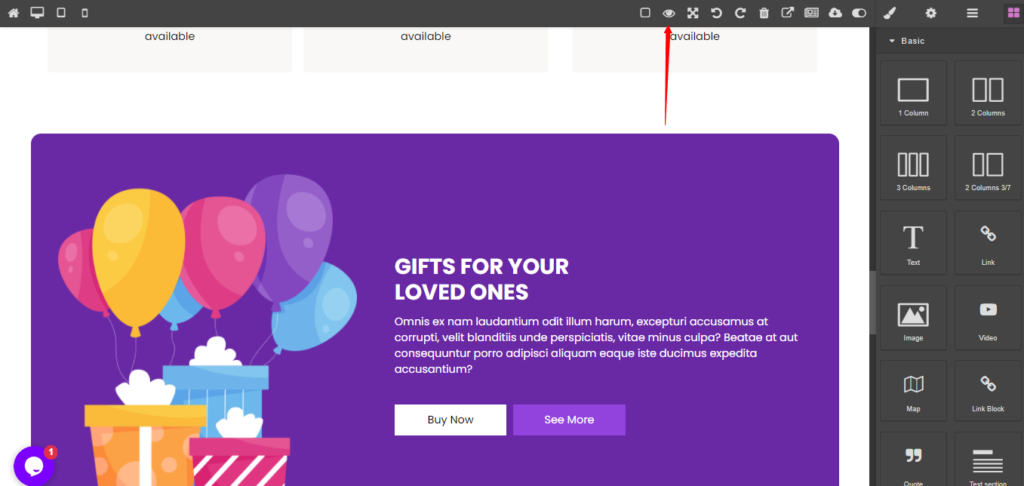
#5: Preview – use this button to see how the changes you’ve made so far look
#6: Auto-Save function
Button #7: editing blocks you can add to your project.
Here is how to edit any element on the template:
- Click on the element you want to change and editing tools will pop up. Say we want to change the title of the above website. So, click on the title:

The tools above allow you to drag, select the parent, move the element up, move it down, and delete the element respectively.
- To change the name, double-clicking on the current title and start typing:
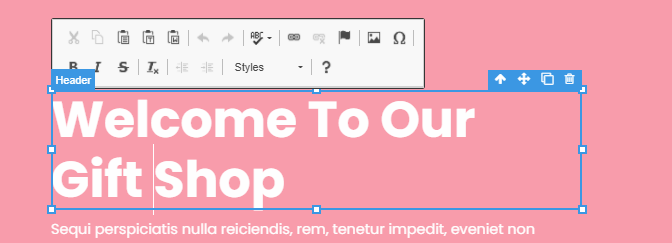
It will be highlighted and a new set of tools made available. You can bold, apply italics, underline, strikeout, and create a link respectively.
Now, go ahead and change into anything you want.
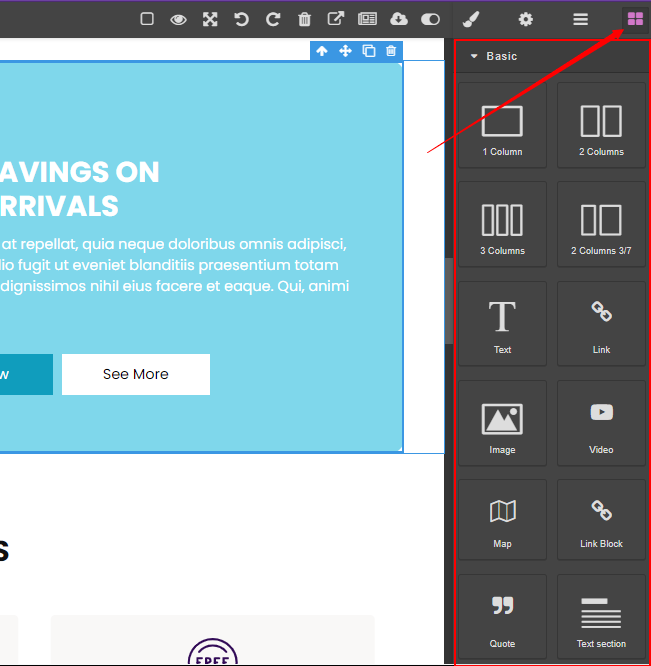
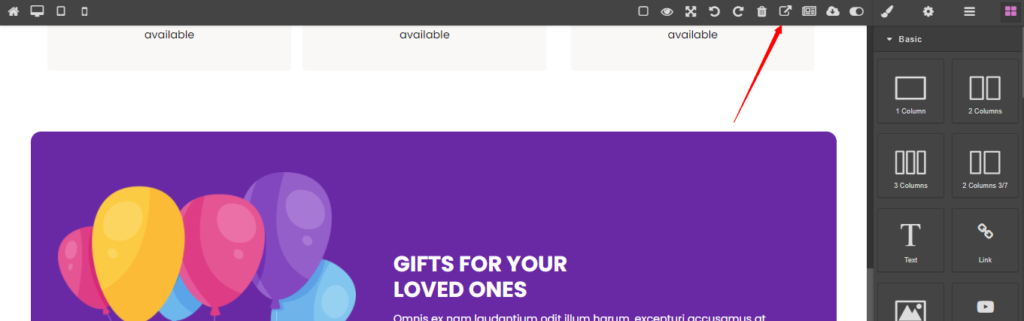
Click on the blocks button (as shown by the arrow) to add elements to the template. Use it to add text, images, or anything else not present on the template.
Just drag and drop any block to your project.
You can add heading and image. Click [x] button to exit the window.
What happens next?
Once you are done with customizing the template, click on the preview to see how the result looks like.
If you like what you see, it’s time to Visit.
Hit the Preview button.
Congratulations! You are in business.
From here, you can click on Visit to see the link to your new website
The edit button will take you back to the customization window, and UnPublish does exactly as it sounds.
How to add a domain name
There are two ways you can add a domain name to OLITT websites:
- Buy domain name – you can buy a new domain name if you don’t own it already.
- Connect existing domain – if you have existing domain, just connect it to your new website.
Here’s a step by step guide.
Go to your OLITT dashboard
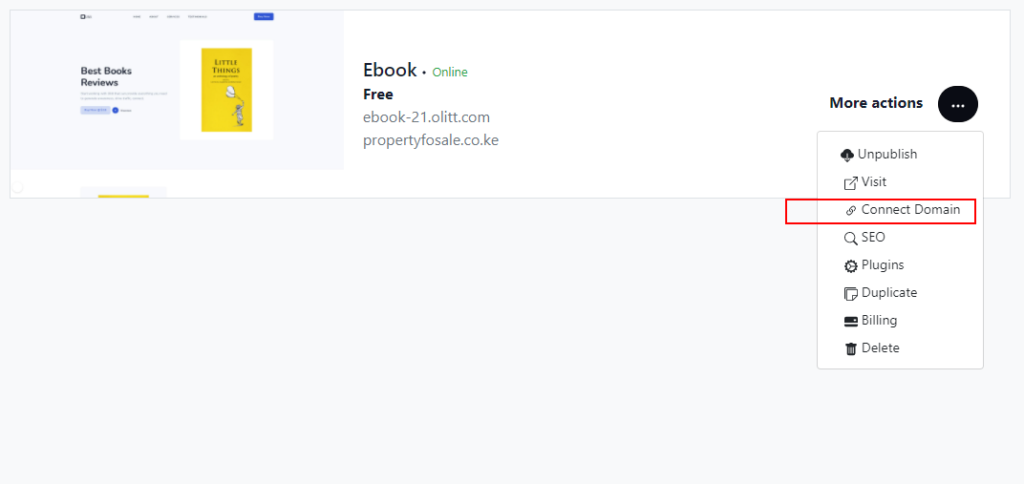
On the website, click on Connect Domain.
A new window will open:
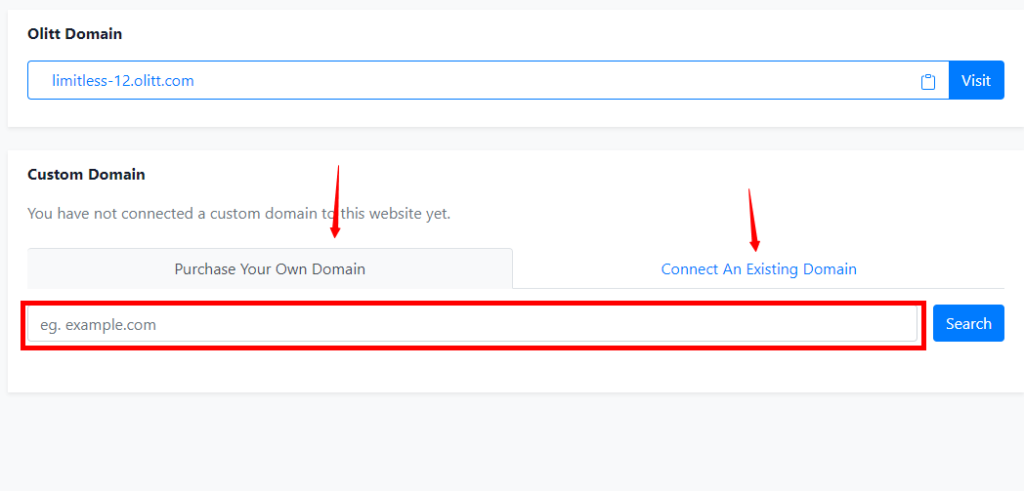
No. 1 shows your current website name and we want to change that.
Go ahead and click on button #2 labelled Connect An Existing Domain.
This is what you should see:
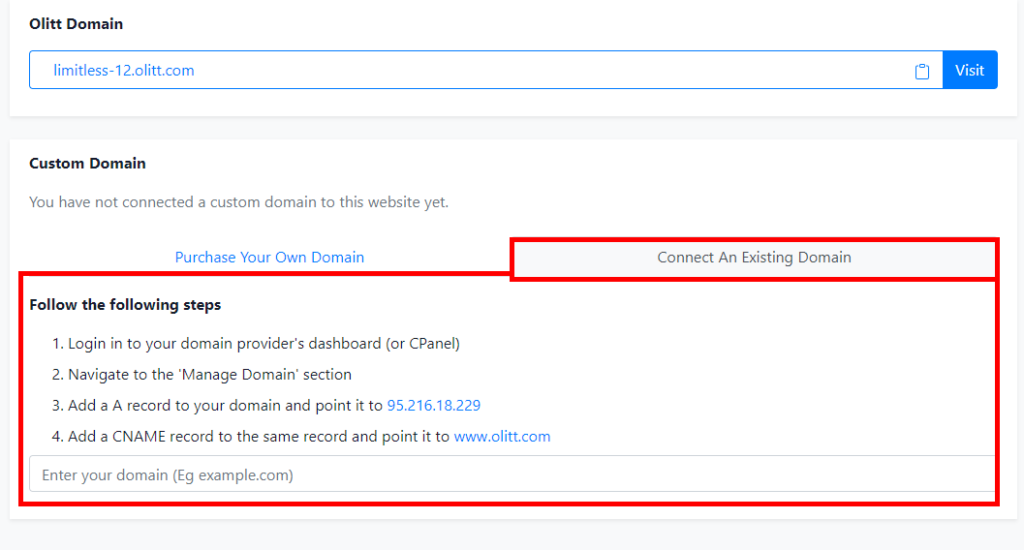
Follow the instructions given to complete the process.
- Login into the domain provider’s dashboard (or CPanel)
- Navigate to the ‘Manage Domain’ section
- Add an A record to your domain and point it to 95.216.18.229
- Add a CNAME record to the same record and point it to www.olitt.com
- Once done, click on Connect.
How to buy domain on OLITT
Type the domain name into the box as shown below:
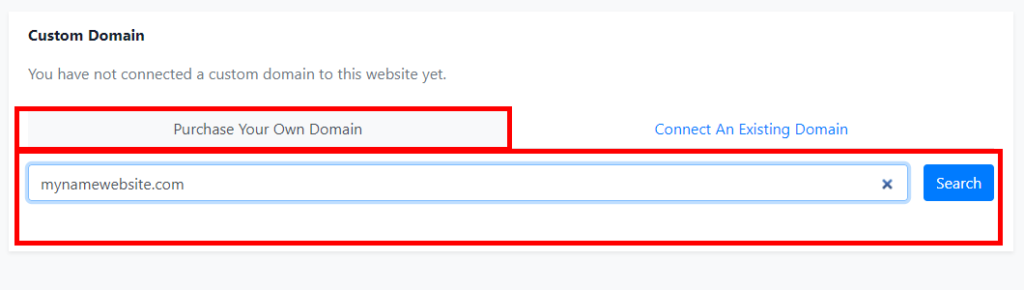
And hit search.
If it is available, go ahead and purchase, if not, search new one.
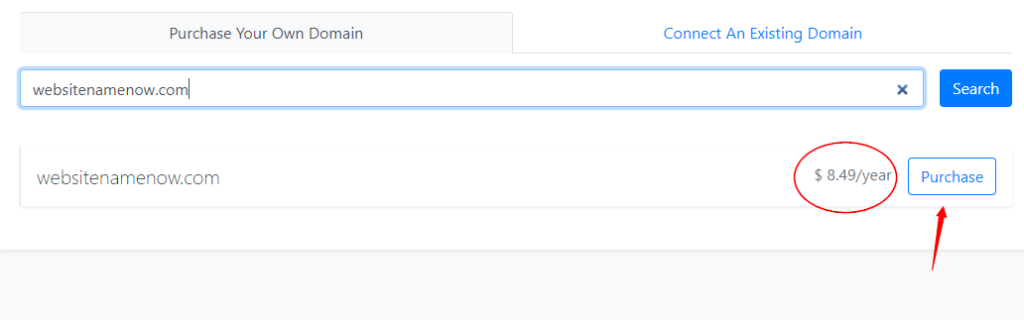
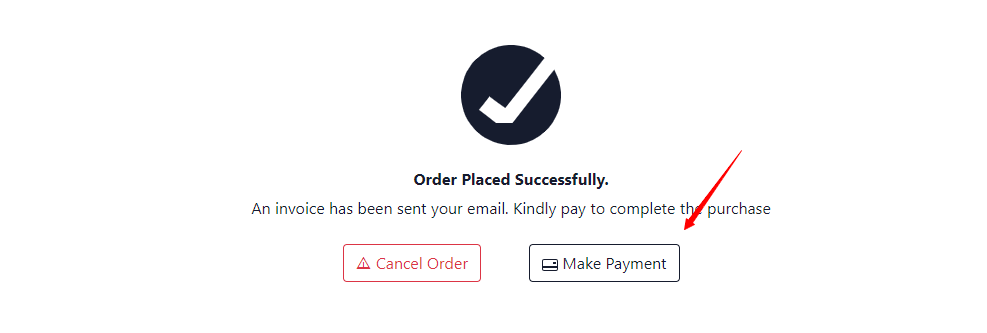
Go ahead and make payment.
I am designing a website with olitt and it is already connected but it is not showing for the public. Whenever I type the domain name of the website, it doesn’t show the website I am building.
Kindly resolve this issue for me. Thanks.