
If you want to make big sales on your creative work, making your online store stand out is a major step and your art photography goes a long way in this.
The reality of e-commerce is that your product images are often the first thing potential customers see.
This means that they play a major role in how people perceive your brand, and even, if they are ever going to decide to buy from you.
In that sense, high-quality photos not only show off the unique details of your artwork but also help build your brand’s identity and professionalism.

So, how do we use that to our advantage?
Since art is already pretty on its own, and an online store needs to look appealing to attract more buyers, why not use your art photography to make that happen?
Today, we’ll walk through 21 easy-to-follow tips that can improve your art photography, and make sure your online store gets noticed on search engines.
In short, prepare to draw in buyers and take your brand to the next level!
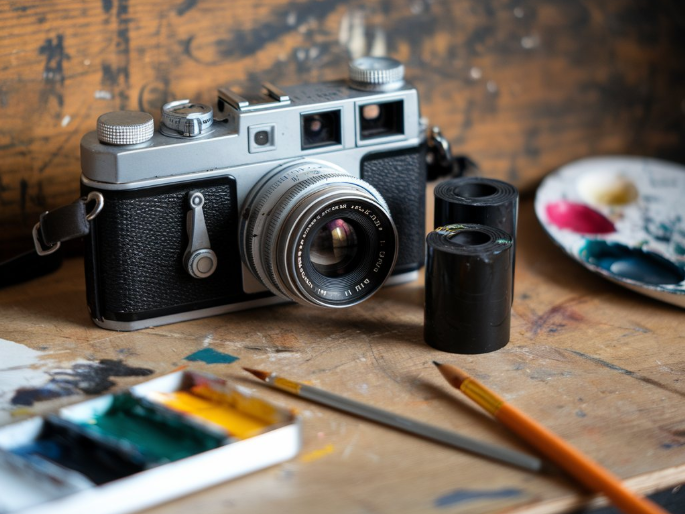
Tip #1: Invest in the Right Camera Equipment
First things first, you need the right camera to capture high-quality art photography.
When you have a good one, you are sure to control various aspects like exposure, aperture, and ISO, which are so important for capturing detailed images.
And the trick for your artwork is a great canvas, so this is where we begin.
DSLR or mirrorless cameras are excellent choices because they give you flexibility, precision, and superior image quality.
I mean, what could go wrong with all that?
Now, if you are a beginner, you don’t need to start with the most expensive stuff. Right?
You can even do good with a smartphone, especially with the latest upgraded ones.
Just start with what you have, and keep experimenting to find your style.
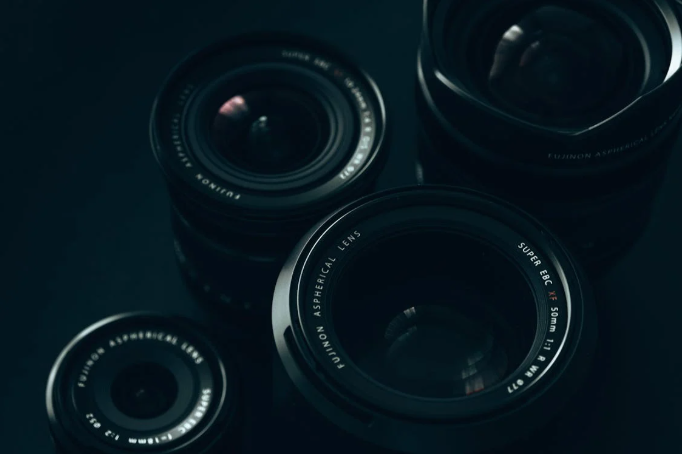
On the other hand, if you’re looking to invest in a dedicated camera, check out these:
Canon EOS R is a mirrorless camera with 30.3 megapixels.
You can never go wrong with it.
It gives sharp and detailed vibes. I mean images.
There is the Nikon D850, known for its high 45.7-megapixel resolution and excellent color reproduction.
Then you have the Sony A7R III. This mirrorless camera offers great speed, focus accuracy, and 4K video options.
Finally, there is the Fujifilm X-T3.
Its Compact and powerful, giving you high-quality shots with a 26.1 megapixel sensor.
And there is always so much more in the market.
Tip #2: Use Proper Lighting to Highlight Details
Lighting is like the party of photography.
It shapes how your artwork appears, bringing out the exquisite details and textures.
The key is to use lighting that emphasizes the right features without casting harsh shadows.
Natural light is soft and flattering. Try using white bounce cards or reflectors to diffuse the light, creating a balanced effect.
If you’re shooting indoors, artificial light is your best option.
You could invest in a studio lighting kit with adjustable lights and modifiers (like softboxes or umbrellas) to control the brightness and direction of the light.
The right lighting can add depth, reduce shadows, and highlight textures.
Isn’t that what we want?
So, make sure your product is well-lit from multiple angles to capture every detail.
Tip #3: Create a Clean and Neutral Background
Talking of clean and neutral backgrounds, they help your artwork shine without distractions.
The truth is, busy or colorful backgrounds can take attention away from your art.
Use a simple backdrop, like a white or light gray paper or fabric, to make your work stand out.
For smaller pieces art photography, you can even use a neutral-colored tablecloth or a simple wall as your backdrop to boost your online store.
Just be sure the background contrasts with your artwork, so it doesn’t blend in.
Tip #4: Use a Tripod
Well, just like your gun, your camera needs stable hands.
When taking close-up or detailed shots, even a slight hand movement can cause blurriness.
A tripod ensures your camera remains steady, giving you sharp, clear images.
There are some great tripods in the market like:
1. Manfrotto 190XPRO: Known for its balance between portability and sturdiness.

2. Gitzo GT2542 Mountaineer: Great for photographers who need a rugged tripod that lasts.
3. Vanguard Alta Pro: This tripod’s adjustable column allows for unique shooting angles.
4. MeFoto RoadTrip Travel Tripod: Ideal if you’re traveling, as it’s compact but stable.
Tip #5: Focus on the Details
To capture the finer details of your art, such as texture or intricate brushstrokes, a macro lens is your best friend.
This type of lens allows you to get up close and focus on tiny elements with incredible clarity.
A zoom lens is also useful when you want more flexibility, allowing you to adjust your focal length for optimal detail.
Macro shots are especially important for capturing the beauty of small items like jewelry, paintings, or textured art.
Tip #6: Shoot from the Right Angle
Choosing the right angle can make or break the final shot.
If you’re photographing 3D artwork or sculptures, be mindful of the angle to avoid distorting the form.
Try different angles to showcase the piece from its best side.
For larger pieces, a wide-angle lens can help give you the right perspective.
It’s essential to consider how the art is presented.
You want to capture the object as it was intended to be viewed, so think about how the light hits it and the angle that gives the most depth.
Tip #7: Use a Reflector for Balanced Light
Reflectors help balance out the light, especially if one side of your artwork is too dark.
A simple white reflector can help bounce light back onto your artwork, softening the shadows and brightening the image.
Reflectors come in different colors:
White: Produces soft, natural light.
Silver: Provides a stronger light, adding contrast and making details pop.
Gold: Adds warmth, which works well for artworks with warm tones.
Tip #8: Capture the Artwork’s True Colors
Accurate color representation is essential in art photography.

Sometimes, lighting can make colors look different than they do in real life.
Adjust the white balance on your camera to match the lighting conditions.
If you’re editing your photos, avoid over-saturating or altering the colors too much.
Aim to represent the artwork as true to life as possible.
Small tweaks can help if your lighting isn’t perfect, but don’t overdo it.
Tip #9: Focus on Composition
Composition is key to creating aesthetically pleasing photos.
The “rule of thirds” is a popular technique where you divide the frame into three horizontal and vertical sections, then place the subject of your photo along these lines or their intersections.
This creates a balanced, harmonious image.
Negative space is also important—it’s the area around your artwork.
Don’t overcrowd the frame. Allow your art to breathe by leaving some empty space around it.
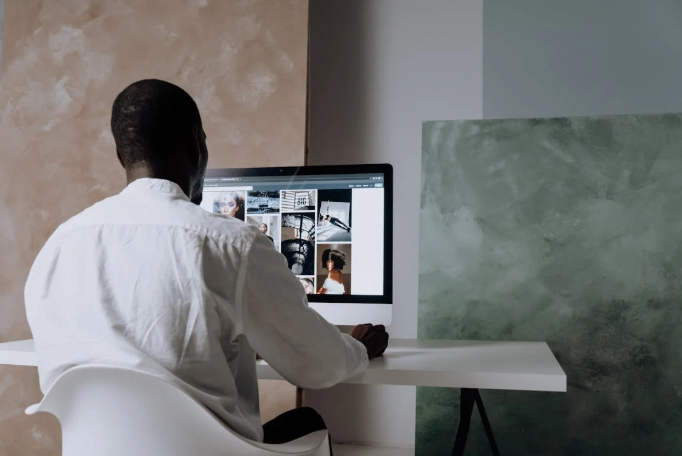
Tip #10: Use Software for Post-Editing
Editing your photos helps refine them.
After taking your pictures, use software like Adobe Lightroom or Photoshop to make minor adjustments, such as fixing exposure, contrast, and sharpness.
However, avoid over-editing.
Your goal should be to enhance the image, not change the artwork’s true colors or appearance.
Simple tweaks like adjusting brightness can make a big difference.
Tip #11: Optimize Image Sizes for Web Use
When posting photos of your artwork online, it’s important to ensure they load quickly, especially on mobile devices.
Larger images can slow down your website, affecting user experience and SEO (search engine optimization).
Resize images to fit the space they’ll be displayed in.
For example, if an image is displayed as 800×800 pixels, don’t upload it as a 3000×3000 pixel file.
Use compression tools like TinyPNG or ImageOptim to reduce the file size without sacrificing quality.
Tip #12: Add a Drop Shadow or Border for Depth
To make your artwork stand out more in a photo, try adding a drop shadow or a subtle border.
This can give your images a bit of depth and help the artwork pop against the background.
Be careful not to overdo it.
Keep the shadow subtle with a low opacity and use a border that complements the artwork.
Tip #13: Use Multiple Views of the Artwork
Customers like to see products from different angles, so take photos from various perspectives—full shots, medium shots, and close-ups.
This helps them understand the size, shape, and details of the artwork better.
You can tell a visual story by showing how the artwork looks from different viewpoints, which provides a more complete understanding of the piece.
Tip #14: Incorporate Lifestyle Shots
Lifestyle shots help customers imagine the artwork in their own spaces.
You can photograph the piece in a home, office, or gallery setting to give people an idea of how it will look in a real-world environment.
Show the artwork in different settings to appeal to various tastes and inspire potential buyers.
Tip #15: Consider Using Models with Your Artwork
Incorporating models into your shots helps show the scale of the artwork.
For example, a person next to a large painting can give viewers a sense of its size.
Make sure the models don’t distract from the artwork.
The focus should remain on the piece itself, with the model simply adding context.
Tip #16: Use Consistent Photography Style
A consistent photography style helps create a professional, cohesive look for your art gallery.
Use similar lighting, editing, and color schemes across all your photos to build a recognizable brand identity.
Consistency in style also gives your online store a polished, organized feel that appeals to customers.
Tip #17: Capture the Texture of the Art
Textures in art, like brushstrokes or sculpted surfaces, are important details to showcase.
Use angled lighting to create shadows that highlight these features.
Macro lenses can help capture these fine textures up close.
Make sure your camera settings are adjusted to capture the smallest details, emphasizing the texture and depth of your artwork.
Tip #18: Use White Balance Correctly
White balance ensures that the colors in your photo are as true to life as possible.
Depending on the lighting, your photos might look too warm (yellowish) or too cool (blue).
Adjusting the white balance in-camera or through editing software ensures that the colors in the photo match what you see in real life.
Tip #19: Take Advantage of Natural Shadows
Shadows can add depth and dimension to your photos.
Natural shadows, when controlled properly, help bring out the texture and form of your artwork.
Position your artwork to create shadows that emphasize its features, but avoid harsh shadows that can be distracting.
Use diffusers to soften strong shadows for a more balanced look.
Tip #20: Showcase Your Art’s Size and Scale
To help customers understand the size of your artwork, include visual cues for scale.
This could be a ruler, a person, or even furniture placed next to the piece.
Add the artwork’s dimensions in the product description so customers have a clearer idea of its size.
Tip #21: Use High-Quality Printing for Prints of Your Art
When photographing prints of your artwork, ensure you use a high-quality printer and paper to accurately represent the original piece.
A high-quality print will look better online and create a positive impression on potential buyers.
Using professional printing services and high-resolution images also boosts the perceived value of your artwork, making it more appealing to buyers.
Conclusion
The world of online art sales is very competitive and having great photography is your ticket out of the hassle.
The art photography tips shared in this article can make your artwork look amazing on your online store and create an experience that draws customers in.
It’s just about using each tip strategically to help your art shine.
Since your product images (art photography) is the first impression customers get of your work when they visit your online store, you better get it right.
By showing off your pieces in the best light – both literally and figuratively – you build trust, show professionalism, and boost your chances of making a sale.
Remember that consistency is everything.
A unified visual style strengthens your brand and makes your store stand out, helping customers remember you and return for more.
And now is the time to start experimenting with these tips, and watch your artwork get the attention it deserves!